I was sitting at my Nana and Papa’s house one day and they were telling me stories like usual, but something changed. I wanted to know more about the people in these stories because they had passed away before I was born. At the time, I was a graduate student studying history so I thought to myself, “Could I take the skills I use to do my thesis research and apply them to my own family’s history?” The answer is… yes, absolutely yes! I was shocked by how much information came up on my first search.
Hey there, friend! Welcome back to another article! Today we are talking about how to write your personal family history. I LOVE this topic because this is something that I have done for my family over the past year. There has never been a better time to undertake this kind of a project with so many archives, libraries, and repositories making their collections digitally available online! This article will give you some ideas of places to look for sources, practical steps for capturing audio/video from elderly family members, and how to compile it all into one single file. Let’s get started!
Places to look for sources
There are many different places to find sources concerning your family history. There are free and subscription services that you can utilize. For my personal family history project, I used the following sources: Ancestry (not affiliated), newspapers.com (not affiliated), Find a Grave (not affiliated), Chronicling America (not affiliated), my State Historical Society, local newspapers, oral histories, old photo albums, general history textbooks, and more.
Here are some ideas of the collections you can look through: Federal Census Records, State Census Records, Military Records, School Records, Marriage Records, Birth Records, Death Records, Land Records, Newspapers, and more!
Be patient when digging for sources, sometimes it can take time, but it is so rewarding. One evening, I found a picture of one of the great grandparents many generations back in my family and my Papa loved seeing the picture. Just keep digging!
For more information on finding primary sources see: The Best Places to Find Digitized Primary Sources and Where to Find Public Domain Sources for Your Next Project
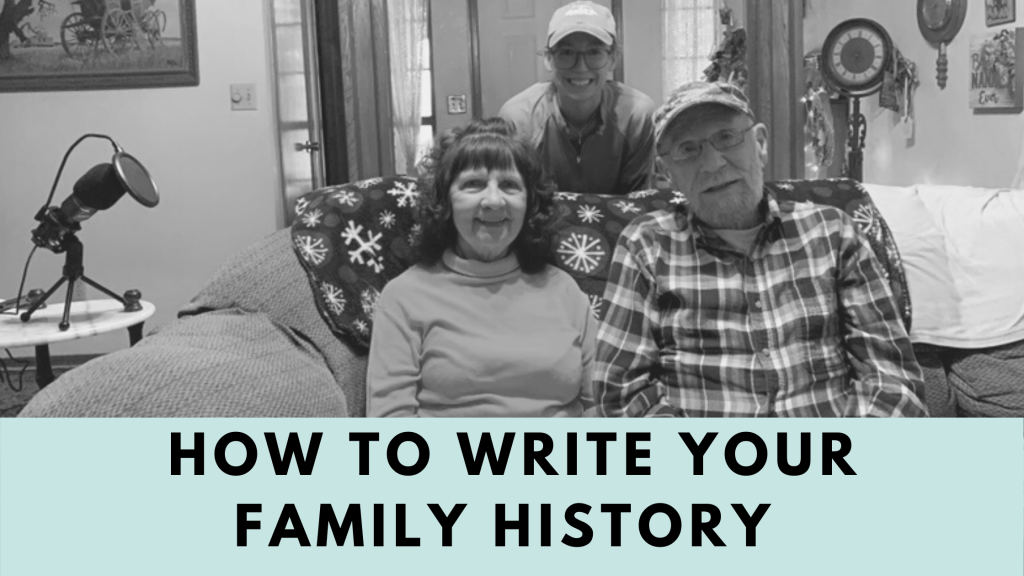
Practical steps for capturing audio or video interviews
After you have consulted the documentary evidence about your family history, you can begin to capture oral histories of people in your family. I recommend doing the background research first so you can ask relevant questions to the things your interviewees are talking about.
You can either go into an interview with a set of questions or you can let your family member talk about whatever they feel comfortable talking about. I have tried both methods and they both worked. Though, for a more professional interview, you will want to have questions for your interviewee. This makes the interview process much smoother.
To capture the audio or video of your interviewee, make sure that your equipment works before the interview. Personally, I use an iPhone XR for capturing the audio/video of my interviewees. I also use a Tonor USB microphone (Amazon) plugged to my computer to capture an additional audio file. I like to have both options in case one didn’t work. I connect the microphone to the Garage Band software on my computer and record a narration track! The audio is always crisp and clear. (This is not affiliated with Amazon).
Additionally, I like to use a tripod when recording a video file so that the camera isn’t shaky. If you don’t have a tripod try stacking books or something to create a flat surface to place the camera on. Personally, I use a smartphone tripod from Amazon. (This is not affiliated with Amazon).
Make sure to thank your interviewees for their time and willingness to share their stories for the future generations of your family.
For more information on oral histories see: How to Conduct an Oral History
How to compile your family history into one file
Once you have compiled all of the information, you can put it in a single file. Personally, I chose to write mini-biographies of my family members using the documents, newspaper articles, census records, and military service records I found.
I chose to leave the oral history videos and interviews separate from the written document. Each oral history has an individual index with key words and time stamps that act as a Finding Aid.
Next, I took all of the pieces and put them on a single USB flash drive. (i.e. mini-biographies, photos, audio files, video files, index, and finding aids) Having all of the information in one place makes it easy to share and pass to the next generation.
Bonus Tip: Make sure to keep the files updated as technology changes or there’s a risk that you could lose some files. (i.e. update the audio and video files)
Concluding Thoughts
I hope this article was helpful in getting you started on your journey to writing your family’s history. Writing a family history is so valuable and you get to learn a lot about where you came from. Happy hunting!
I’ll talk to ya soon! 🙂

Leave a comment